


 48 Min
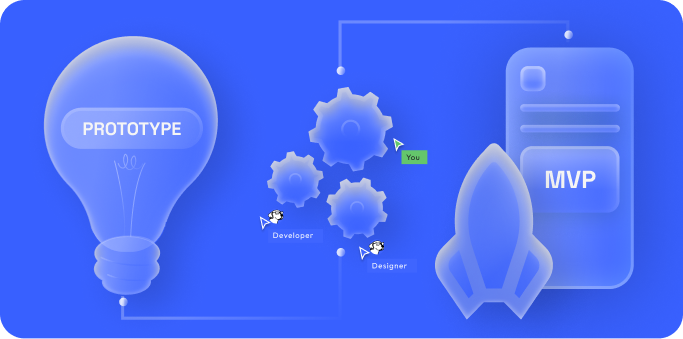
So, you have a great app idea and you’re wondering how to develop an app from scratch.
Whether you’re a first-time app entrepreneur, a business leader expanding into the Apple App Store or Google Play Store, or a founder trying to rescue a struggling product, navigating the mobile app development process can feel daunting.
The good news is that with the right roadmap and partner, you can turn your app idea into a successful reality.
This ultimate guide will walk you through every step of mobile app development – from initial idea to the moment you launch (and beyond) – in a clear, accessible way.
Mobile apps are everywhere, and their impact is huge.
By 2029, mobile apps are expected to generate around $780 billion in revenue globally. It’s no wonder companies and entrepreneurs like you are eager to build the next great app.
But building an app isn’t just about coding – it’s a multi-stage journey that requires strategy, design, development, testing, and continuous improvement. Think of it like constructing a house: you need to start with a solid blueprint before you lay the foundation, and you shouldn’t move the furniture in until everything is sturdy and inspected.
In this comprehensive guide, we’ll cover the entire app development lifecycle using the proven framework that successful agencies (like Chop Dawg) use as the gold standard. Along the way, we’ll share tips, examples, and best practices to demystify technical concepts.
By the end, you’ll understand how to make an app step-by-step, what to expect at each stage, and how to work with an app developer effectively to bring your vision to life.
Quick Overview: The Mobile App Development Process – From idea to launch, building a mobile app typically involves these stages:
- Initial Consultation & Discovery – Defining your idea, goals, and requirements.
- Research & Project Planning – Validating the market and crafting a strategic roadmap (the “blueprint”).
- UI/UX Design – Creating wireframes, high fidelities, and prototypes for an intuitive user experience.
- App Development & Coding – Building the app’s front-end and back-end through iterative development.
- Testing & Quality Assurance – Rigorously testing the app on multiple devices and fixing bugs.
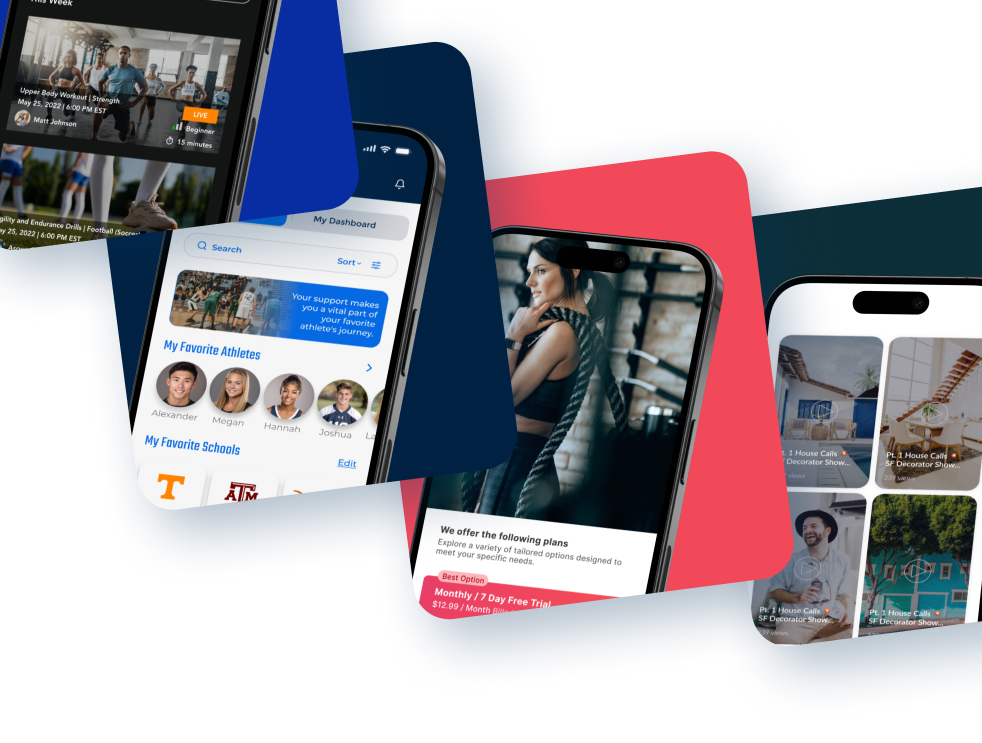
- Launch & Deployment – Releasing your iPhone app and Android app to the app stores (Apple App Store, Google Play Store) with a marketing launch plan.
- Post-Launch Support & Maintenance – Monitoring, updating, and improving the app after release.
Now, let’s dive into each of these steps in detail.
Step 1: Consultation & Discovery – Turning Your Idea into a Plan
Every successful app begins with a strong foundation in discovery and planning. In this initial phase, you clarify what you’re building and why. It’s tempting to jump right into design or coding, but taking the time to properly scope out your idea will save you enormous headaches later. As the saying goes, measure twice and cut once!
Define Your Vision and Goals: Start by clearly defining the purpose of your app. What problem does it solve, or what need does it fulfill for users? Identify your target audience and what value your app will offer them. If you’re a business, align the app’s goals with your business objectives (e.g. driving revenue, improving customer engagement, streamlining operations). Having concrete goals will guide all subsequent decisions. If these aren’t clearly defined from the start, it’s easy to get lost along the way once you start building your app.
Initial Consultation: It’s extremely helpful to discuss your idea with an experienced app development team early on. Many top app agencies offer a free initial consultation to prospective clients. For example, at Chop Dawg our process begins with a free 45-minute consultation via Zoom. In this no-obligation meeting, we listen to your idea, ask questions about your goals and requirements, and provide strategic feedback. The aim is to flesh out your concept and map a high-level plan. Even if you’re not technical, a good development partner will help translate your vision into practical terms – discussing potential features, budget considerations, and timelines in plain language. By the end of a discovery consultation, you should have a clearer picture of what it will take to make your app a reality.
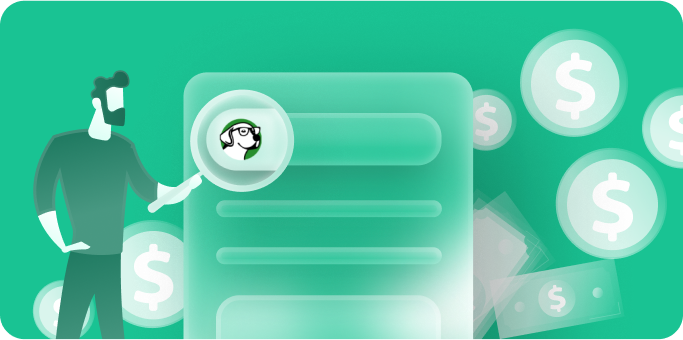
Market Research and Idea Validation: The discovery stage is also the time to validate your idea and do basic market research. Investigate who your competitors might be – are there similar apps out there? What are they doing well, and where are the gaps your app could fill? You don’t need an exhaustive analysis at this point, but understanding the competitive landscape helps refine your unique value proposition. You should also consider your app’s monetization strategy early (e.g. will you charge for the app, offer in-app purchases, use ads, or is it a free utility that supports another part of your business?). These decisions affect the features and design later on.
Outcome of Discovery: By the end of Step 1, you should have documented the core concept of your app and your key requirements. This often takes the form of a project brief or rough functionality list. Think of it as the app’s blueprint at the conceptual level: what the app will do, who it’s for, and what success looks like. For instance, your notes might say: “Recipe sharing app for home cooks – allows users to upload recipes with photos, follow other cooks, and save favorite recipes; goal is to build a community and eventually offer a subscription for premium content.” This gives a clear target to aim for. A strong development partner will also summarize the consultation findings and outline next steps. At Chop Dawg, we provide a personalized roadmap coming out of the consultation – essentially a strategic plan for moving forward.
Before moving on, ensure you and your stakeholders are aligned on the vision and scope at a high level. Now you’re ready to dig deeper into planning the details.
Step 2: Research & Project Planning – Laying the Blueprint for Success
Once your app idea is defined, it’s time to turn that concept into a concrete plan. This stage—often called the Blueprint Phase or Discovery Phase—is where strategy meets execution.
It’s all about figuring out how your app will work, what will be required to build it, and how much it will cost.
Some agencies charge for this service, but at Chop Dawg, we provide the full blueprinting process completely free.
Think of it as drawing architectural plans before construction begins—skipping this stage is one of the most common and costly mistakes. A well-crafted blueprint keeps everyone aligned, reduces risk, and prevents scope creep or expensive mid-project changes.
Detailed Requirements & MVP Feature List: Start by expanding on the high-level goals from discovery into a detailed requirements document and prioritized feature list. What specific screens and core features will your Minimum Viable Product (MVP) include?
For example, a recipe app MVP might include user registration, profile creation, a recipe feed, recipe submission form, search function, comments or ratings, and push notifications. Focus on your must-haves—features that deliver the app’s core value. “Nice-to-haves” can always be added in later phases or updates. A smart development partner will help you think strategically, balancing your goals, budget, and timeline to avoid bloat while still delivering results.
Platform & Tech Stack Decisions: Choosing the right platforms and tech stack is a foundational decision. Will your app launch on iOS, Android, or both? Native app development (Swift for iOS, Kotlin for Android) often yields top-tier performance but comes with a higher cost and longer timeline. Cross-platform development—especially with frameworks like React Native—lets you build once and deploy to both platforms with shared code, speeding up delivery and reducing bugs.
At Chop Dawg, we often use React Native to build scalable, high-quality apps that run on both iOS and Android seamlessly. You’ll also decide whether you need a custom backend, cloud storage, or specific database technologies—all of which should be discussed and documented in this stage.
App Development Timeline & Budget Planning: Your development partner should help you create a realistic project timeline and cost forecast. This includes breaking the work into clear phases: design, front-end and back-end development, testing, and deployment. Even a simple app takes several months to build properly. More complex products—especially those with AI features, third-party integrations, HIPAA or regulatory compliances, or admin dashboards—can take 6 to 12 months or more. Alongside the schedule, define a clear budget.
The best app development companies offer transparent pricing. Chop Dawg, for instance, uses a fixed monthly pricing model, giving clients predictable budgets, deliverables, and timelines—without the runaway billing issues that can happen with hourly models. If the initial estimate exceeds your funding or goals, now’s the perfect time to adjust scope or phase the rollout.
The Product Blueprint, Your Project’s Single Source of Truth: At the end of this phase, you’ll receive a Product Blueprint—a document that clearly outlines your app’s features, technical decisions, project timeline, and cost structure.
This blueprint, also known as a proposal, becomes your team’s playbook, ensuring that designers, developers, and stakeholders are aligned before any coding begins. Without it, you risk miscommunication, misaligned expectations, and delays. With it, you move into the next phase—design and development—with total clarity and confidence.
Pro Tip: Insist on transparency during the planning stage. A reputable mobile app development company should walk you through their full process with clarity—from sprint structure to testing cycles. If they can’t explain how they plan, build, and deliver apps like yours, that’s a red flag. The agencies worth hiring won’t just show you the “what”—they’ll walk you through the how and why too.
Step 3: UI/UX Design – Crafting an Intuitive User Experience
With your Product Blueprint finalized, the next phase is where your app begins to visually take shape: UI/UX (user interface and user experience) design.
This step is more than just picking colors and making things look pretty—great design is foundational to user adoption, retention, and overall app success.
Studies consistently show that poor user interface design and confusing navigation are leading reasons users abandon and uninstall iPhone and Android apps. In today’s crowded app marketplace, investing in thoughtful, strategic design isn’t optional—it’s essential.
Personas, Wireframes & User Flows: Design begins by grounding every decision in your user personas—fictional yet research-based representations of your ideal users, their goals, behaviors, and pain points. These personas shape the overall user experience and ensure that every screen and interaction reflects the needs of real people.
Using these personas, the team maps out user flows, detailing how users will navigate through key tasks such as onboarding, posting content, or making a purchase. Then, using this structure, designers create wireframes—simple black-and-white outlines of the app layout that define screen structure, functionality, and navigation without yet adding final styling.
Wireframes and user flows work together to validate functionality and user logic early in the process. They help your team catch UX issues, missing features, or bottlenecks before a single line of code is written. And because changes are much easier (and cheaper) at this stage, wireframing is one of the most cost-effective ways to refine your app’s architecture.
From Wireframes to High-Fidelity UI Mockups: Once the structure is approved, designers transform wireframes into high-fidelity screen mockups—full-color visual designs that reflect your brand’s identity. These mockups define the color palette, typography, iconography, buttons, spacing, and overall mood of the app. Every visual element is placed with user intent and experience in mind, using UI/UX design best practices to guide clarity, accessibility, and interaction.
You may be presented with style tile options or a mini visual design system first, to lock in the direction before the full interface is produced. Navigation should feel intuitive, interactions should feel seamless, and the user journey should feel frictionless—just like the apps users already love.
Reusable Components & Design Systems: Top design tools like Figma enable the creation of reusable components—modular design elements such as buttons, headers, form fields, cards, and navigation bars that can be used consistently across your entire app. These reusable components are part of a design system that enforces consistency, improves scalability, and makes it easy to introduce future features without redesigning from scratch.
If you later want to introduce a new screen or flow, your team can pull from the existing component library, speeding up design while keeping everything visually and functionally consistent. It also allows you to make global design changes easily (e.g. updating a button style across dozens of screens with one edit), which is especially helpful during scale-up phases or major UI updates.
Interactive Prototypes to Simulate Real App Flow: Many agencies—including Chop Dawg—will create an interactive prototype using tools like Figma or Adobe XD. These clickable non-functioning (meaning no code involved) prototypes connect the mockups together so you (and stakeholders or test users) can simulate how the app will feel in action. While it won’t yet have working back-end logic, it lets you experience the interface firsthand—navigating screens, tapping buttons, and moving through user flows.
This step is critical for validating user experience (UX) design. If anything feels confusing, clunky, or missing, the design team can iterate before development begins. At Chop Dawg, our interactive prototypes are included in the design process to help clients and end users visualize the final product—ensuring design and functionality align before a single feature is built.
Documentation & Design Annotations for Developers: A polished UI is only half the battle. To ensure your developers can implement everything accurately, the final designs should be accompanied by comprehensive documentation and annotations. This includes spacing rules, component behaviors (e.g. what happens on hover or tap), breakpoints for responsiveness, and usage guidelines for each design element.
Design systems in Figma often include notes directly within the file or in developer handoff tools (like Zeplin, Figma Inspect, or Dev Mode), which annotate component behaviors, accessibility tags, and technical specs. This ensures a smooth transition to development, helps front-end engineers implement everything pixel-perfectly, and gives QA testers clear reference points when checking layout, alignment, and interactivity during testing.
Well-documented design reduces ambiguity, speeds up development, and minimizes back-and-forth clarification—saving time and budget.
Feedback, Iteration & Collaboration: Design is a collaborative and iterative process. You’ll review prototypes and mockups, provide feedback, and work with the design team to refine the final product. This might include small changes like color tweaks, or larger adjustments like restructuring a user flow based on insights or overlooked functionality.
Good designers won’t just make changes blindly—they’ll explain the logic behind certain UX decisions and offer guidance that protects usability. The best outcomes happen when client vision and UX expertise come together to create something that’s both beautiful and user-centered.
Final UI/UX Design Deliverables: By the end of the UI/UX design phase, you’ll walk away with a full design package that developers will use to bring your app to life. Deliverables typically include:
- Pixel-perfect high-fidelity screen mockups for all app flows and screen sizes
- A reusable design system or style guide (components, colors, typography, spacing, UI states)
- A clickable, interactive prototype for walkthroughs, testing, or pitching
- Embedded annotations and documentation for development and QA use
- Exportable source files (e.g. Figma, SVGs, icons) ready for front-end implementation
These deliverables become the foundation for engineering—and ensure every stakeholder knows what to expect.
Why This Phase Matters: Design directly influences user satisfaction, app store ratings, engagement, and retention. With thousands of mobile apps competing for attention, first impressions matter. An app that feels clunky, inconsistent, or hard to navigate is one swipe away from being uninstalled. But a beautifully designed, intuitive product encourages users to stay, engage, and come back.
Great design isn’t just about aesthetics—it’s about removing friction, guiding users effortlessly, and creating a seamless experience that aligns with real human behavior. That’s the power of UX strategy done right.
Once your design system, prototype, and documentation are complete, you’re ready to move into development with everything needed to execute smoothly—no guesswork, no wasted effort, just a clear path to build.
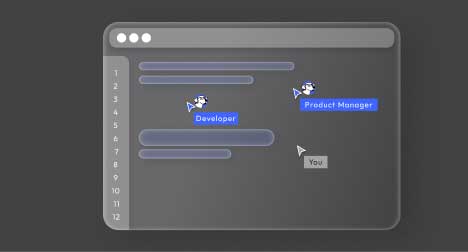
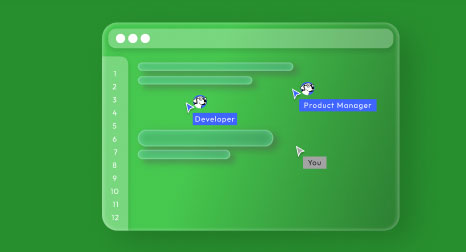
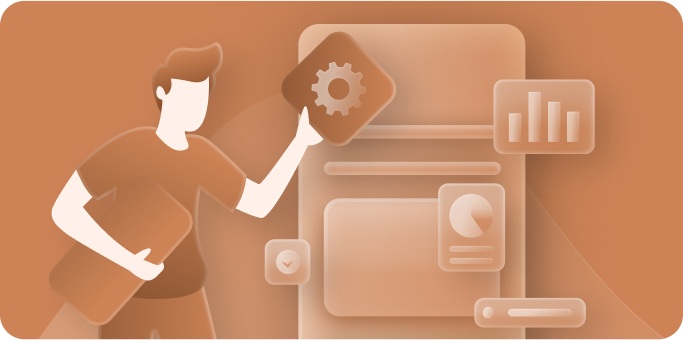
Step 4: App Development & Coding – Building the Product
Now we arrive at the heart of the process: development, also known as programming.
This is where the engineering team writes the code to turn your approved designs and plans into a working mobile application.
It’s an exciting phase because you’ll finally see your app become functional, but it’s also a complex phase that needs good project management and coding best practices.
For non-technical founders, this part can feel like a black box – but it doesn’t have to. A reliable development partner will keep you closely informed and involved throughout the build.
Front-end and Back-end Development: Mobile app development usually has two major parts:
- Front-end development – This is the code that runs on the mobile device, i.e., the iOS or Android app user interface that users interact with. The front-end developers take the UI designs and write the code to implement those screens (using languages/frameworks like Swift or React Native, etc.). They ensure the app looks and behaves exactly as intended, with smooth interactions and animations where needed.
- Back-end development – Many apps also require a back-end server (especially if your app has a cloud database, user accounts, content management, or needs to sync data across devices). The back-end is the behind-the-scenes infrastructure that the user doesn’t see: servers, databases, APIs, user authentication systems, etc. Back-end developers will set up this component, often using cloud platforms or frameworks to handle data storage and business logic. For example, they might create APIs that the app calls to fetch or save data.
Not every app needs a complex back-end – for instance, a simple utility or game might run entirely on the device. But most modern apps (social, e-commerce, fintech, healthcare, on-demand services, etc.) have a cloud-connected component. Your project plan from earlier will outline what’s needed. If a back-end is required, it will be built in parallel with the front-end. The two are connected and tested together as development progresses.
Agile Development & Iterations: Professional development teams typically use an agile methodology or a similar iterative approach to build the app in increments (another common system is to combine waterfall methodology with agile development, giving you the best of both worlds). Rather than disappearing for 4 months and coming back with a finished app (that might not meet expectations), agile teams break the work into sprints (usually 1-2 weeks each) and milestones. You’ll receive frequent updates and demos of the app as features get implemented.
For example, after a couple of sprints, the team might show you a build where you can register an account and browse the basic app. Later sprints add more features like posting content, then another adds notifications, and so on. This iterative development allows for adjustments along the way.
If you see the app heading in the wrong direction or want to tweak a feature after trying an early version, you can communicate that to the team and address it in a subsequent sprint. This adaptability is a big advantage of a well-managed process.
Communication and Project Management: Working with an app developer (or agency) is a two-way street during development. Ensure that the team establishes clear communication channels. Ideally, you’ll have a dedicated project manager or main point of contact.
Top app development companies integrate their clients into the process as if you’re part of the team. For instance, Chop Dawg assigns a dedicated project team for each client – including a project manager, designers, developers, and QA engineers – who act as an extension of your own team. You should expect regular check-ins (weekly and bi-weekly Zoom meetings), status updates via Slack, and the ability to ask questions at any time. This transparency keeps the project on schedule and on budget.
Don’t be afraid to engage during these updates: ask to see progress, test interim builds if possible, and give feedback. When client and developer collaborate closely, the end product benefits greatly.
Coding Quality and Best Practices: While you might not be writing the code, it’s worth ensuring your developers follow industry best practices. This includes things like version control (so code is safely managed), code reviews (developers reviewing each other’s code to catch issues), and adherence to platform guidelines (for example, using recommended UI elements so the app feels “at home” on iOS or Android).
A seasoned development team will also build with scalability and maintainability in mind – meaning the codebase can be extended in the future, and it won’t crumble if your user base grows or requirements change.
You can discuss these aspects with your developer to get peace of mind that the engineering is solid.
One sign of a quality-focused team: they don’t leave testing until the end. Instead, they perform ongoing testing during development (we’ll cover formal QA in the next section, but developers should be writing unit tests or at least manually testing features as they build them).
Throughout Step 4, keep an eye on the project timeline. Minor delays can happen (perhaps a certain feature was more complex than estimated – that’s normal), but your development partner should be transparent about progress and hit major milestones. Thanks to the groundwork in the planning phase, both you and the developers know what needs to be built, so now it’s all about execution.
As each piece of functionality is completed and tested, your app starts to form a cohesive, working product. There’s nothing quite like the moment you see your idea running on your own phone for the first time!
By the end of development, all the planned features would be implemented in code, and the app should be functionally complete. However, “functionally complete” doesn’t mean “ready to ship” just yet – quality must be assured. That’s where the next step comes in.
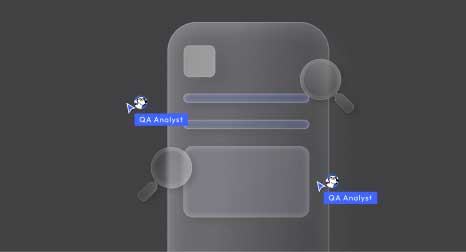
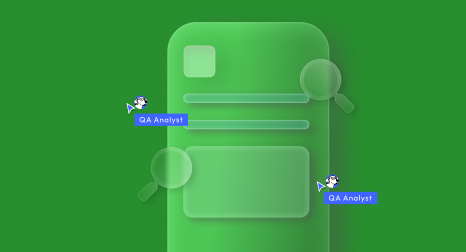
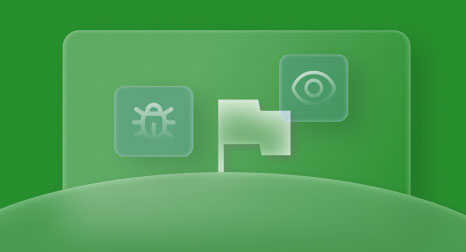
Step 5: Testing & Quality Assurance – Ensuring a Flawless App
Before you release your app to real users, it’s critical to test it thoroughly.
Quality Assurance (QA) is the process of finding and fixing bugs, ensuring everything works as intended, and verifying that the app provides a great user experience in the real world.
Skipping or rushing QA is a recipe for disaster – nothing sinks a new app faster than a bunch of one-star reviews saying “it crashes” or “feature X doesn’t work.” Your aim for launch should be an app that is as polished and bug-free as possible.
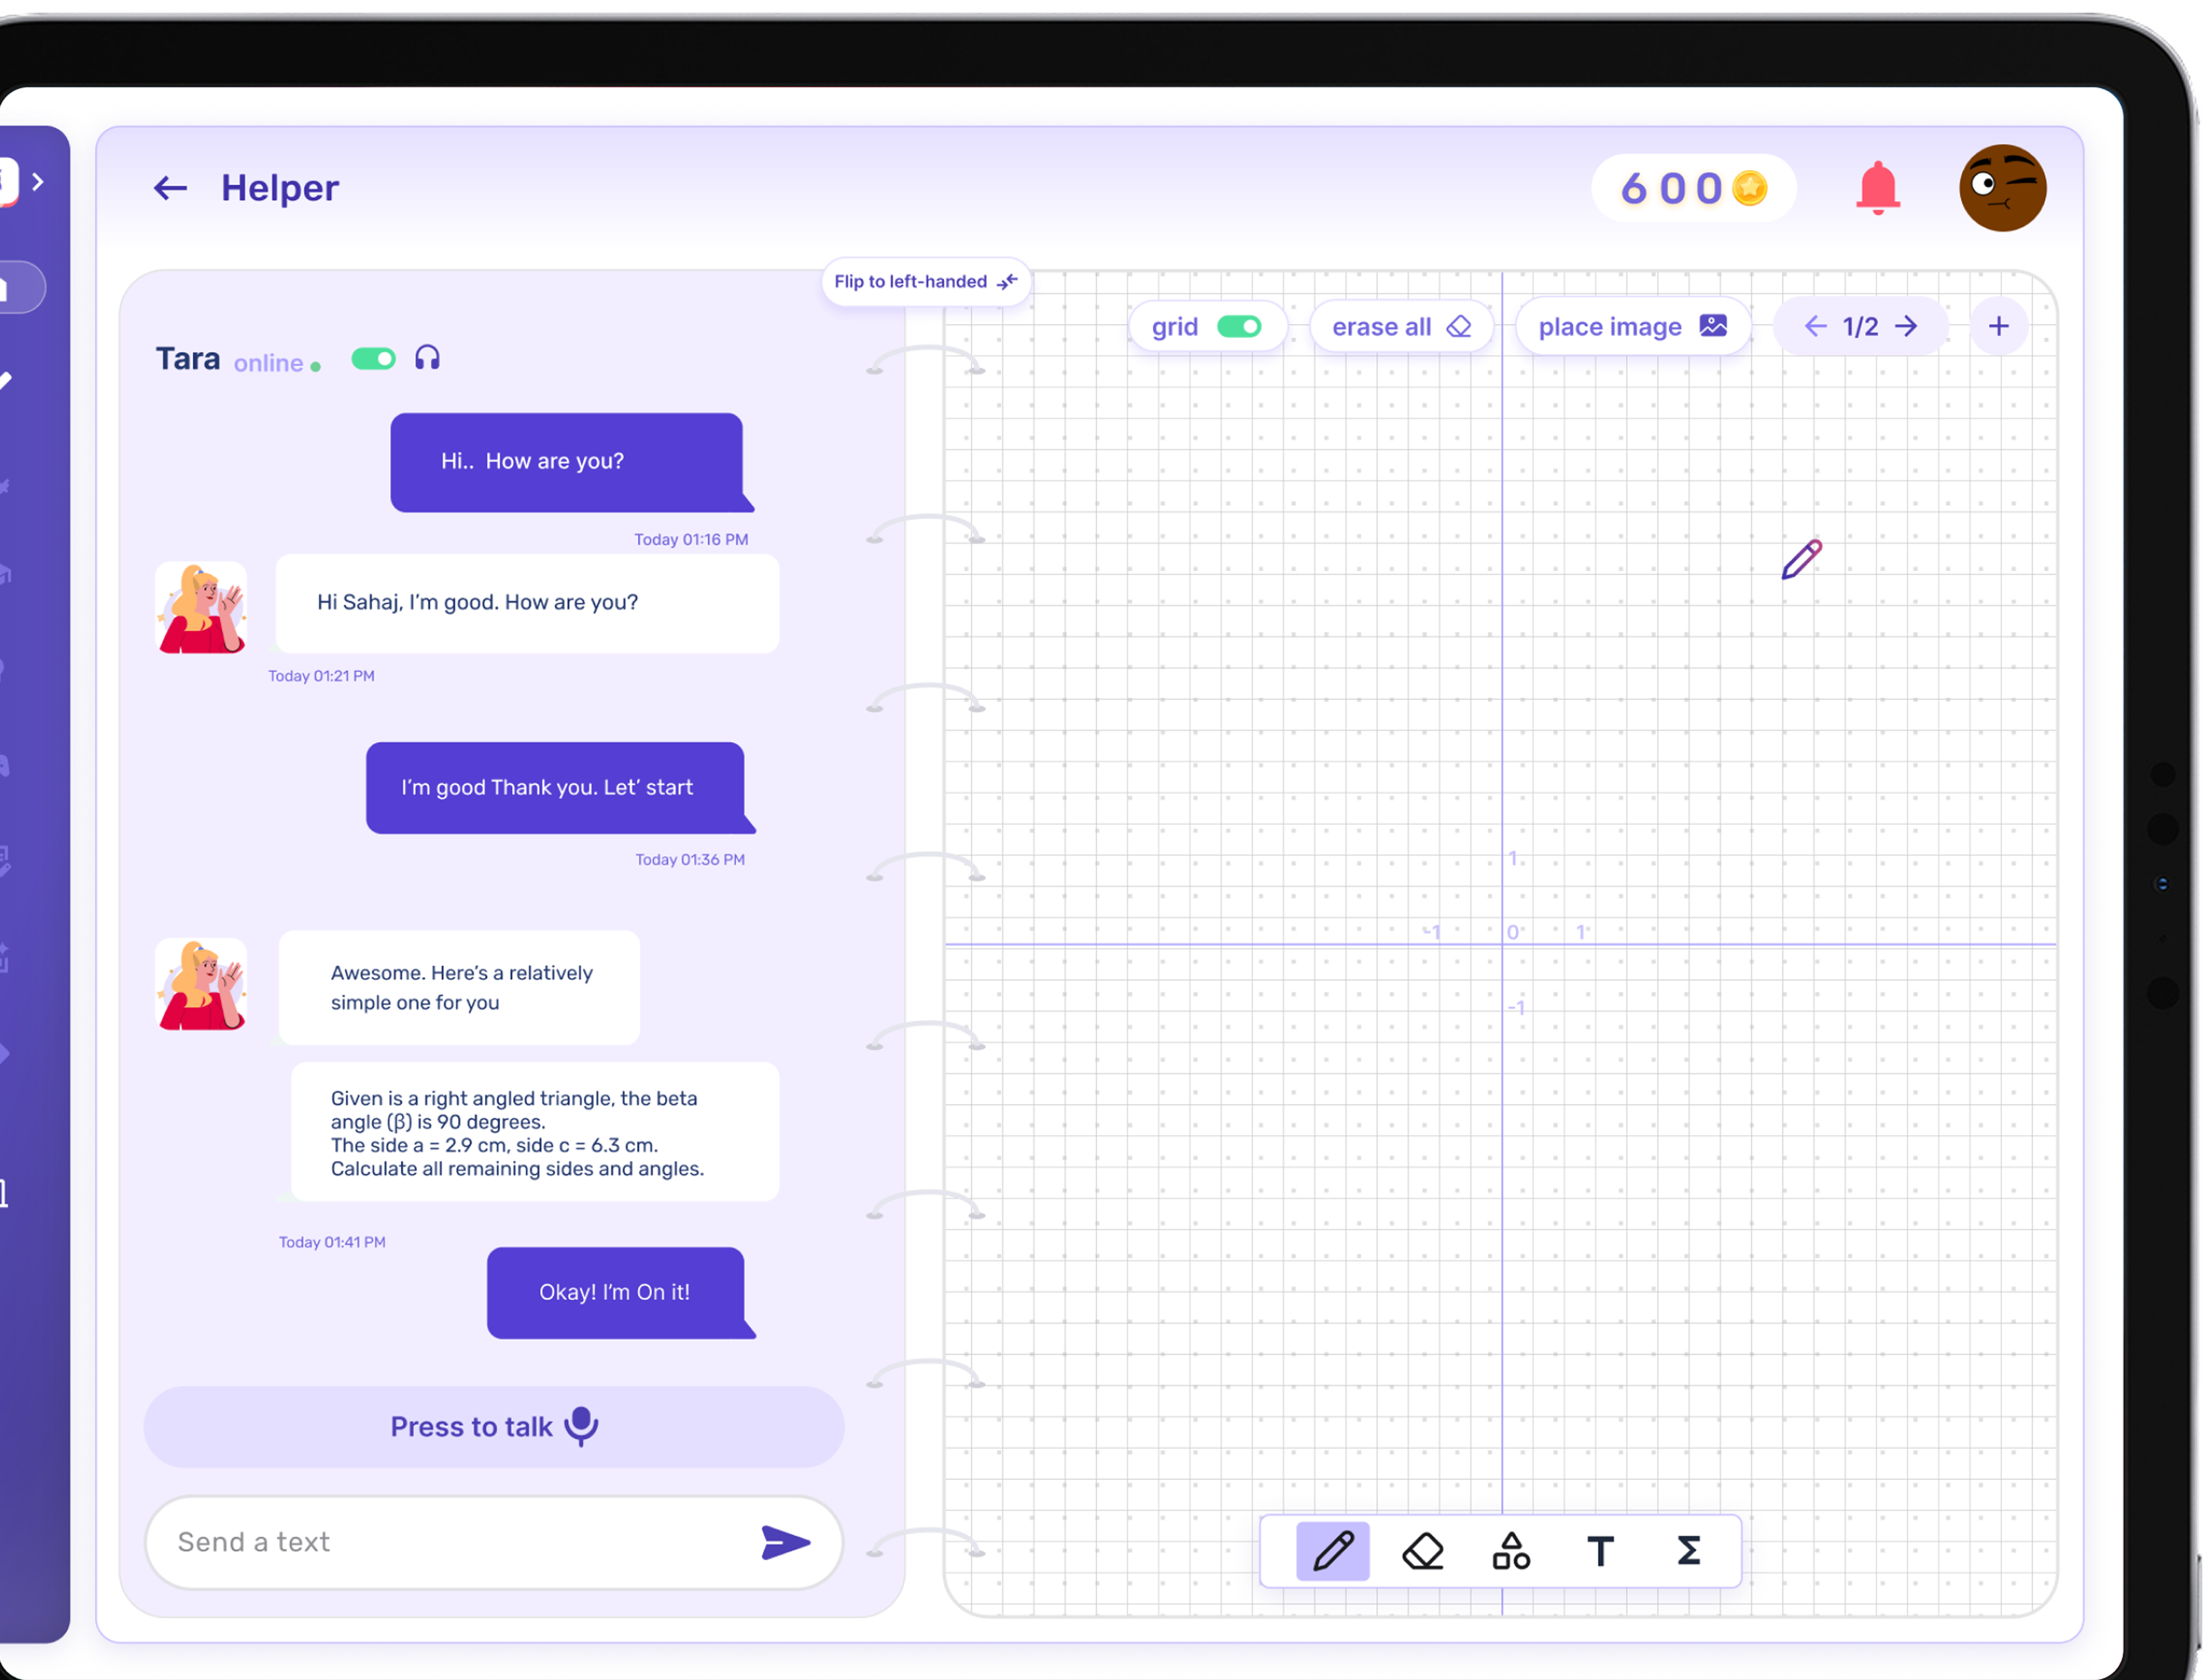
Functional Testing: QA engineers (or sometimes the developers themselves on smaller teams) will test every feature against the requirements. They’ll go through all the user flows: sign up, log in, create content, make a purchase – whatever actions your app supports – to verify the app does what it’s supposed to do.
If they find any deviations (bugs), those get reported and sent back to the developers to fix. This process may iterate many times. It’s helpful for you as the product owner to also do some test runs. Use the app like an end-user would and note anything that seems off. During this phase, the team will be squashing bugs on a daily basis.
Usability & UX Testing: Beyond just functionality, testers and designers will also evaluate the user experience. Is the app intuitive to navigate? Are the button labels clear? If there are any confusing elements, this is the time to adjust them (maybe the design needs a tweak or an instructional tooltip). Sometimes, beta testing with a small group of real users is performed at this stage to gather feedback on usability. For example, you might invite a handful of friends or target users to try a TestFlight (for iOS) or internal test (for Android) version of the app. Their feedback can reveal pain points that weren’t obvious to the team. It’s much better to catch and improve those now than post-launch.
Performance & Compatibility Testing: Quality assurance also involves making sure the app performs well under real conditions. This can include:
- Performance testing: Does the app load quickly and run smoothly? Testing on various devices (especially older models or low-end Android devices) is important to ensure it’s not laggy or crashing due to memory issues.
- Network testing: If your app relies on the internet, how does it behave on slow networks or offline? QA might simulate poor network conditions to see if the app handles them gracefully (e.g., showing a “retry” message rather than freezing).
- Compatibility testing: Mobile apps need to be tested on different screen sizes and OS versions. For Android in particular, the variety of devices is huge. Your team should test on a range of popular phone models (both Android and iPhone, various screen sizes) and OS versions (ensure it works on the latest iOS/Android, and maybe one or two versions back). Emulators can cover some of this, but actual device testing is invaluable. Device fragmentation is a known challenge in mobile development – a solid QA process will address it by covering as many device scenarios as feasible.
Security Testing: If your app deals with sensitive data (personal information, payments, etc.), security testing is crucial. This might involve testing encryption of data, secure logins, making sure there are no easy ways to breach the system or database. It’s a specialized aspect of QA, but worth mentioning if applicable to your app (for a banking app or healthcare app, for example, security testing would be extensive).
Bug Tracking and Fixing: Throughout testing, every issue found should be logged in a bug tracking system. The development team then fixes the bugs and provides updated builds for re-testing. This cycle continues until the rate of new bug discoveries drops to a trickle and no major issues remain. It’s rare to reach absolutely zero known bugs (there’s always something minor that could be improved), but the idea is to resolve all critical and high-severity issues that could negatively affect user experience.
A helpful mindset during QA is that testers are trying to “break” the app in every way possible before real users do. Encourage the team to be nitpicky – it pays off.
Also, decide on a threshold for launch: for instance, “we will not launch if there are any crash bugs or any issue that blocks a primary feature.” Minor issues (like a misspelled word or a slightly misaligned icon) can sometimes slip to post-launch fixes, but core functionality must be solid.
By the end of the testing phase, you should feel confident that your app is stable, user-friendly, and ready for prime time. You’ve built, and diligently inspected, a sturdy “house”; now it’s nearly time to open the front door to your guests (users)!
Get Your Free 45-Minute App Roadmap
Meet 1-on-1 with our senior product team. We’ll map your MVP or enterprise app and hand you a personalized plan—clear scope, a realistic timeline, and fixed monthly costs—for iOS & Android, web, tablets & wearables, and AI.
Step 6: Launch & Deployment – Releasing Your App to the World
Launch day is the moment of truth – your app is ready to go live and be used by real people.
This stage is about packaging your app, distributing it to users (usually via app stores), and executing a launch plan to maximize its success. It’s both a technical process and a marketing exercise. Let’s break down how to launch a mobile app effectively.
App Store Preparation: For consumer mobile apps, the primary distribution channels are the Apple App Store (for iOS) and Google Play Store (for Android). Each has a submission process and guidelines you must follow:
- Developer Accounts: You (or your developer) will need to have developer accounts set up (Apple Developer Program and Google Play Developer console). These accounts handle the app submissions and are tied to the entity (individual or company) releasing the app.
- App Store Listing: A successful launch requires an appealing app store listing. This includes the app name, description, category, keywords (for App Store search optimization), app icon, and screenshots or an optional promo video. Take time to craft a compelling description that highlights your app’s value and uses relevant keywords (this helps users find your app when searching on the Apple App Store or Google Play Store, akin to SEO for app stores). The visuals matter too: your icon should be eye-catching and on-brand; screenshots should showcase the best of your app’s interface. If design is not your forte, your development partner’s design team can usually help create these assets.
- App Store Guidelines & Approval: Both Apple and Google will review your app before it’s published. Apple in particular has strict App Store Review Guidelines. Common reasons for rejection include: crashes or bugs, broken links, missing privacy policy if your app requires one, usage of copyrighted content without permission, etc. Fortunately, if you followed good development and QA practices, you should be in good shape. Your developers will package the final app build (IPA file for iOS, APK/AAB for Android) and submit it through the respective consoles. Google Play’s review process is generally quicker and more automated, whereas Apple’s review can take a day or a few days and sometimes results in feedback to address. Be prepared for a small back-and-forth with reviewers if needed. A seasoned app agency will handle this submission process for you – at Chop Dawg, for example, once an app is ready, we take care of every aspect of the launch process on the client’s behalf (so they don’t have to wrangle with app store forms or technicalities).
Launch Timing and Marketing: Deciding when and how to launch is a strategic consideration. You might choose a specific date to coordinate a marketing campaign or press release. Ensure your app is approved in the store before any big public announcements (you don’t want to drive people to an app that’s still “under review”). You can release the app as soon as it’s approved, or set it to go live on a specific date. Leading up to launch, you should implement a marketing plan to generate buzz:
- Leverage social media to tease features or share a countdown.
- If you have an existing user base (say, on an email list or another product), notify them that your new app is coming.
- Prepare a press kit if you intend to reach out to media or app review sites.
- Ensure your company website has a landing page or banner for the app launch.
- Consider running small ads targeting your audience around launch time.
Remember, launching the app is not “if you build it, they will come.”
Users need to become aware of your app.
Marketing is an integral part of the mobile app development process – if users are not aware of your app, there is no chance they will download it. Even the best app will languish if it quietly appears on the store without anyone knowing. So put as much effort into launch promotion as you did into building the app.
Beta Launch vs Full Launch: Depending on your strategy, you might do a soft launch or beta release before a full public launch. For example, you could release the app in a smaller region or to a limited audience as a final “live” test, then launch globally after ensuring all systems are running smoothly. This isn’t always necessary, but some founders of large apps take this route to gather early feedback and reviews.
Monitor Closely: When your app is finally live on the stores and users start downloading, keep a close eye on initial metrics. App stores will show you the download counts, and you should also monitor analytics (if you integrated any analytics SDK like Firebase or Crashlytics). Watch for any crash reports or bug reports – sometimes issues only emerge when the app is running on hundreds of different devices in the wild.
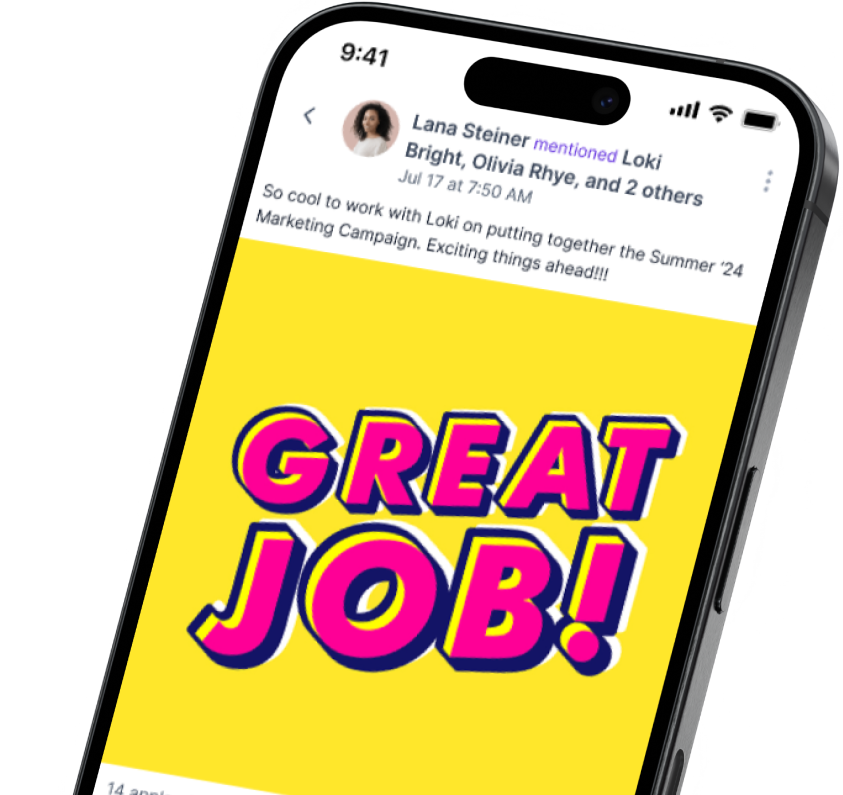
Also pay attention to user reviews and ratings on the app listing. Early user feedback is gold; respond to it constructively. If someone posts a complaint, acknowledge it and see if it points to a genuine bug or a needed improvement.
Celebrate and Congratulate the Team: Don’t forget – launch is a big milestone! Take a moment to celebrate with your app development team, whether internal or your agency partner.
At launch, you’ve turned an idea into a tangible product available to the world, which is a huge accomplishment. But remember, this is not the end of the journey – it’s just the end of the beginning. The next step ensures that your app continues to succeed after the initial launch excitement.
Step 7: Post-Launch Support & Maintenance – Sustaining Success
You might think once the app is launched, the project is finished. In reality, post-launch support is just as important as the development itself.
The period immediately after launch (and the long-term maintenance beyond) can make or break your app’s ultimate success. It’s during this time that you gather real-world feedback, address issues, and iterate on your product. Think of launching the app like planting a seed – after launch, you still need to water and nurture it to help it grow.
Monitoring and Analytics: After launch, closely monitor how your app is performing. Use analytics tools to track key metrics: number of downloads, active users, session length, retention rate (do users come back after 1 day, 7 days, 30 days?), and any specific funnel (e.g. what percentage of users sign up, or complete a transaction, etc., depending on your app’s purpose).
Also watch technical metrics like crash reports or error logs. Both Apple and Google provide crash reporting, and you can also integrate third-party monitoring such as Crashlytics.
If you notice any crashes or serious issues affecting many users, those should be addressed immediately with a hotfix update. Additionally, monitor app store reviews and social media for user sentiments. Users will often tell you what they like or don’t like in their reviews.
Bug Fixes and Updates: It’s common to release one or two quick patch updates in the weeks after launch to fix minor bugs that slipped through or to make small tweaks based on initial feedback. No matter how thorough your testing was, real users always use apps in unpredictable ways, so you might discover a corner-case bug once you have thousands of people using your app.
A proactive app team will have a plan to address these quickly. (For instance, Chop Dawg provides a 30-Day Bug Warranty post-launch – meaning if any bugs are found in the first month, they are fixed at no extra cost. This gives clients peace of mind that quality issues will be promptly taken care of.)
Even beyond any warranty period, expect to release periodic updates. These could be small fixes or performance improvements, as well as minor enhancements that didn’t make the initial launch.
Implementing User Feedback: Listen to your users and plan future enhancements accordingly. Perhaps users are requesting a new feature or an improvement to an existing one. Post-launch is the time to prioritize these product iterations. Create a backlog of potential features or improvements and work with your development team to implement them in updates. This continual improvement process is what keeps your app relevant and engaging. The most successful apps in the market are updated frequently with new content, features, and improvements based on user needs. It shows your user base that the app is actively maintained and cared for.
Maintenance and Scaling: Over time, there will be routine maintenance tasks. These include updating the app for new OS versions (each year Apple and Google release new updates that might require your app to adapt), updating third-party libraries or SDKs your app uses, updating versions of React Native, and ensuring any backend services continue to run smoothly. If your user base grows significantly, you might need to scale your backend infrastructure (for example, upgrade server capacity or optimize the database) to handle the load. All of this falls under ongoing maintenance.
Many development agencies offer long-term support packages or maintenance contracts to handle these needs. For example, Chop Dawg not only launches your app but remains a partner afterward with continued support and maintenance offerings. Knowing you have technical backup when needed is invaluable – you don’t want to be scrambling to find developers to fix an urgent issue months after launch.
User Acquisition and Marketing Continued: Post-launch support isn’t only technical. You should also continue your marketing efforts to acquire and retain users. Consider app updates as an opportunity to reach out (both app stores highlight apps that update frequently). Continue engaging with your users through in-app messages, email newsletters, or social media to announce new features or promotions.
Essentially, post-launch growth is an ongoing project of its own – you might work with marketing specialists or use analytics to drive your strategies (e.g., running A/B tests on app features or marketing messages to see what drives better retention).
In summary, launching the app is the start of the next phase of its life. By actively supporting your app post-launch, you maximize the chances of it succeeding in the long run.
A trustworthy development agency or partner will treat your app’s launch not as a finish line, but as a checkpoint in an ongoing journey, and will be committed to your product’s success beyond day one. (In fact, at Chop Dawg we like to say “we have your back, because your success is our success” – a sentiment we uphold by being there for clients long after launch day.)
How to Work Effectively with an App Developer (Tips for a Smooth Collaboration)
Throughout the app development process, one of the most crucial factors is the working relationship between you (the client) and the app development team. Building a mobile app is very much a collaboration. Here are some tips and best practices on how to work with an app developer or development agency to ensure your project goes smoothly:
- Choose the Right Partner: First and foremost, do your homework when selecting an app development company or developer. Look for a team with a proven track record (e.g. an agency that has launched hundreds of apps successfully) and expertise in the type of app you want to build. Check reviews on platforms such as Clutch, Business of Apps, GoodFirms, TopDevelopers.co, G2, and Google, ask for client references, and examine their portfolio. The right partner will be experienced, communicative, and aligned with your business values. (For instance, Chop Dawg has 17+ years of experience and has launched 500+ apps for startups and enterprises, which indicates a depth of expertise.) While choosing is a whole topic on its own, it lays the foundation for a good working relationship.
- Establish Clear Communication: Right from the start, set up regular communication channels. Decide on how often you’ll have check-in meetings or calls (weekly is common during active development). Use project management tools or communication platforms (like Slack, Teams, Zoom, GitHub, Figma, Trello, Jira, etc., if provided by the team) to stay in the loop. A good development team will update you frequently, but don’t hesitate to ask for updates if you’re feeling out of the loop. Transparency is key – you should always know the status of your project. If the team is truly transparent, you’ll feel like you’re part of the process rather than kept in the dark. Expect your developers to be responsive to questions and to explain things in plain language. On the flip side, be responsive to their questions as well – timely feedback can prevent delays.
- Set Realistic Expectations and Milestones: At the project kickoff, ensure that you and the developers agree on milestones and deliverables. This was likely outlined in the planning phase (e.g., design completion by X date, a prototype by Y date, beta release by Z date, etc.). Keep those expectations documented. However, also be a little flexible – software development can involve unexpected challenges. If the team informs you of a hurdle that requires adjusting the plan, hear them out. The best developers will propose solutions to stay on track or minimize any impact. Maintaining a bit of agility in your expectations (within reason) will foster a cooperative rather than adversarial dynamic. Regularly revisit progress against the timeline together so there are no surprises.
- Be Involved, Provide Feedback Promptly: While you hired experts to do the heavy lifting, your involvement is still crucial. You bring knowledge of your business and your vision of the product – developers rely on that input to make the right decisions and setup the accounts needed to be successful. Review design mockups, prototype builds, and demo versions as soon as they’re shared, and give clear, specific feedback. If something doesn’t feel right to you, articulate why and what you might prefer instead. Conversely, if you love how something turned out, let them know that too. Timely feedback (within a day or two) helps keep momentum. If you go radio-silent for a week when the team is waiting on your input, it can stall the project. Treat the development process as a collaborative conversation.
- Trust the Expertise (but Don’t Be Afraid to Ask Questions): You hired your app development company for their skill and experience, so trust their recommendations on technical matters. If the iPhone developers or Android developers advise using a certain technology, or suggest reworking a feature for better performance, seriously consider it – they likely have good reasons. That said, you should always feel comfortable asking why. A professional developer will gladly explain their rationale and educate you along the way. You don’t need to micromanage the code (that’s their job), but do stay engaged and informed. Think of it like climbing a mountain with a guide: you’re letting the guide lead, but you’re still on the journey, asking questions about the path, and confirming you’re headed toward the right summit.
- Keep the End-User in Mind: During discussions, anchor decisions back to the perspective of your app’s end-users. Sometimes you as the client might have a certain way you want something, but your developer (or designer) might point out a better way from a user-experience standpoint. Be open to those suggestions, because ultimately user satisfaction will determine the app’s success. For example, you might have wanted a flashy introduction screen, but if the data (or the developer’s past experience) shows that users prefer to get straight to content, consider skipping it. This collaborative focus on the user will ensure the product serves its purpose.
- Embrace Transparency in Pricing and Scope Changes: Money talk can be uncomfortable, but it’s important. If you have a fixed-price contract, make sure you understand exactly what’s included in the scope. If during development you decide to add a new feature or significantly change something, discuss the impact on timeline and cost openly. Reputable agencies will be clear about how change requests are handled. Ideally, because of the careful planning upfront, change requests should be minimal – but the reality is sometimes new ideas emerge. Handle them collaboratively: perhaps you can schedule non-critical new features for a Phase 2 after launch, rather than derailing the current project. Also, favor arrangements that offer cost transparency and predictability. The fixed monthly pricing model that Chop Dawg uses, for instance, means clients know their projected costs and deliverables each step of the way. This kind of clarity goes a long way in preventing misunderstandings.
- Maintain a Partnership Mindset: The best outcomes happen when you view your app developers as partners, not just vendors. You share a common goal – to create a successful app that delights users. If you run into challenges, work together to solve them rather than resorting to blame. Celebrate wins together at milestones. When the development team feels as invested in the app’s success as you are, they will go the extra mile. At Chop Dawg, we explicitly try to foster this kind of partnership mentality – integrating with the client’s team, adapting to their workflow, and keeping a “your success is our success” philosophy. When you find a team that treats you like a partner, hold onto them! That relationship will be invaluable for this project and any future ones.
By following these tips, you can significantly improve your collaboration with your app development team.
Building an iPhone app and Android app is a journey full of creative problem-solving and iterative improvement. When you and your developers communicate well, respect each other’s expertise, and stay focused on the end goal, the journey becomes not only smoother but also more enjoyable. Many of our clients have said they learned a ton and even had fun during the development process – which is exactly how it should be when the partnership clicks.
Conclusion: From Idea to Launch – You Can Make It App’n!
Embarking on the journey of mobile app development can be one of the most rewarding endeavors you undertake. We started this guide with an app idea in your mind and walked through every major step to transform that idea into a live app in users’ hands. Let’s quickly recap the voyage:
- It all begins with a clear idea and discovery, where you define your app’s purpose and plan out its roadmap with expert guidance.
- Through careful research and planning, you create a blueprint that sets the project up for success (saving you time, money, and stress in the long run).
- Thoughtful UI/UX design then breathes life into the concept, ensuring your app will be user-friendly and attractive.
- Robust development and coding builds the engine under the hood, with a skilled team writing the code and iterating with you until all features are in place.
- Rigorous testing and QA provides quality assurance, so that your app is stable and delightful, free of critical bugs or issues.
- A strategic launch gets your app out to the world, with polished app store listings and a marketing push to reach your target users.
- And importantly, post-launch support and maintenance help your app adapt and grow, turning initial users into loyal fans and continuously improving the product.
By following this end-to-end process, you give your app idea the best possible chance to succeed.
This isn’t just theoretical – it’s the very process that successful mobile apps and top development agencies use every day. For example, Chop Dawg’s team has used this process to launch 500+ digital products over the past seventeen years. That experience has proven that thorough planning, great design, quality code, and ongoing support are the formula that consistently works.
As you set out to develop your own app, keep this guide handy. It can serve as a checklist and a reassurance that, step by step, you know what to do next.
And remember, you don’t have to go it alone. Partnering with the right app development firm can make a world of difference – not only in the final product, but in how enjoyable and manageable the journey is.
The most trusted app development agencies will educate you along the way, maintain full transparency, stick to your budget, and stand by your side long-term.
Your idea is important, and with the knowledge you’ve gained here, you have the blueprint to turn that idea into a tangible, successful mobile application. Now it’s time to execute on it.
Are you ready to make it happen? The app world is waiting for the next great innovation – and it just might be yours.
Good luck on your mobile app development adventure, and remember: every great app started as just an idea, so you’re already on the right track.
With the right process (and possibly the right partner) in place, you have everything you need to Make It App’n™! 🚀